

Concrete Slab Requirements for 2-Post and 4-Post Car Lifts Explained
Before installing a car lift in your garage, make sure your concrete floor is solid; t’s the foundation for everything. The lift is only as safe as the slab beneath it. Once that’s set, a 2-post or 4-post lift can seriously boost your garage game, great for storage, repairs, and smoother workflow.
What is the thickness of your concrete for the car lift? Why is this important? We will take it apart step by step so that when you go on to install yours, you do it with confidence and no expensive errors.
Why Concrete Thickness and Strength Matter
The ability to install a car lift is not only concerned with space availability in the shop. A two-post lift directs tons of weight onto minuscule anchorages in your floor. Otherwise, applying too thin or weak concrete may crack, move, or otherwise break down, and your safety, as well as your car, will be jeopardized.
Even those weight-distributing 4-post and scissor lifts still require a flat, crack-free slab. It is a must for any serious shop owner or do-it-yourselfer to adhere to this particular step to ensure that the warranty of your lift is not voided by the recommended concrete specification not being met.
Understanding PSI vs. Thickness
So before we go into the numbers, it is imperative that we get an idea of the difference between PSI (lbs per square inch) and slab thickness:
- PSI is the measurement taken to test the compressive strength of concrete, or how a concrete can stick together and not crack under an intense weight.
- Thickness is about how far deep your concrete slab can be at the anchor points.
The lack of strength in a thick slab may cause it to crumble under pressure, whereas very strong concrete is too thin to be used during anchoring or lifting work.

Recommended Concrete Thickness for Car Lifts
This is a general guideline to concrete requirements on car lift types of lifts:
- 2-Post Lifts (up to 10,000 lbs.): 4–5 inches thick at 3,000 PSI minimum.
- 2-Post Heavy-Duty (12,000 lbs+): 6 inches thick at 3,000–3,500 PSI.
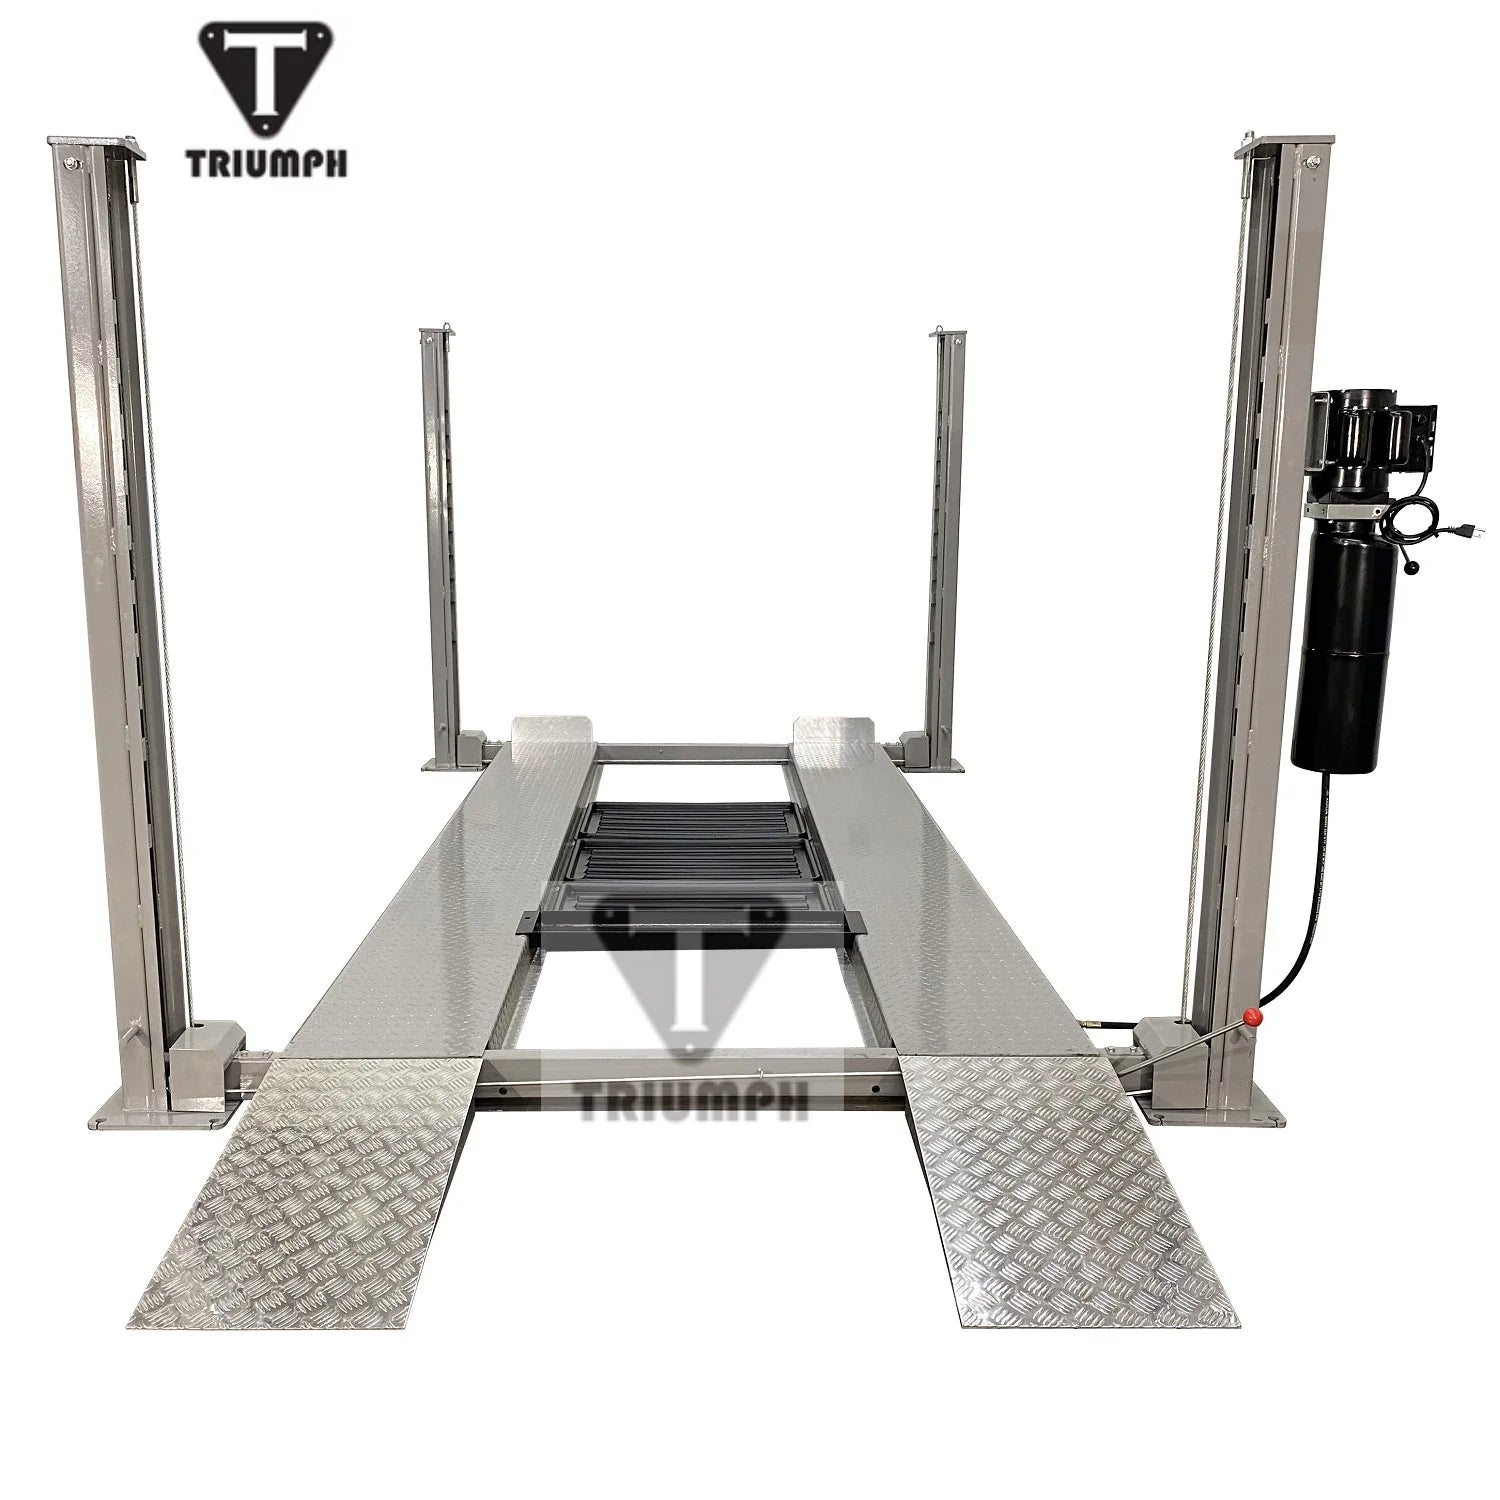
- 4-Post Lifts: 4 inches thick at 3,000 PSI (due to wider weight distribution).
- Scissor & Mid-Rise Lifts: 3.5–4 inches thick at 3,000 PSI.
- Heavy-Duty Commercial Lifts (15,000 lbs+): 6+ inches with 3,500–4,000 PSI, with rebar or mesh reinforcement.
Although these benchmarks would serve as a good starting point, never forget to check your manual regarding your lift manufacturer. Such brands as BendPak, Rotary, and Atlas will give special requirements of the model.
How to Check Your Existing Slab
Uncertain whether or not your garage is up to the standard? The way to check is as follows:
- Measure Thickness: Taking readings through the lift post anchor holes, drill the test holes with a rotary hammer or pay an expert to core the slab.
- Test PSI: Your concrete compressive strength can be justified by a rebound hammer test or in a lab by a core sample.
- Examine: Look out for cracks and joints where posts should not be placed directly or near expansion joints, cracks and seams, or places that are obviously damaged.

What If Your Concrete Doesn’t Meet Requirements?
In the case that your slab is too weak or thin, do not panic. There is a choice:
- Isolated Footings: Remove and re-pour heavier, reinforced pads in isolated locations where the posts holding the lifts are going to be cast into the ground, usually 12 inches down into the ground and rebar.
- Full Slab Replacement: When your concrete is ruined or you need a major shop improvement, having your entire slab repoured to specification can future-proof your workspace.
- Portable or Mid-Rise Lift: Remembering that repouring is not viable, you can use lifts that are lesser in terms of thickness of slab.
Other Essential Installation Considerations
a) Surface Level and Flatness
To lift the safe work and prevent post misalignment, the concrete has to be leveled, not more than 1/8 inch inside each anchor point.
b) Electrical Requirements
The majority of the 2-post and 4-post lifts need a 220V single-phase power with the corresponding amperage, and some portable lifts run on 110V. Before installation, check your electric setup.
c) Height and arrangement of the ceiling
Take measurements of the ceiling clearance (usually a minimum of 10 to 12 feet with a 2-post lift) and make sure there are no obstructions such as lights and openers. Sufficient space is prepared to open the door of the vehicle and to make some easy movements around the lift.
d) Professional Installation vs. DIY Installation
Some of the lifts can be sold as a do-it-yourself (DIY) product, but aligning the posts, torqueing anchors, and cause of safety can make them worth the few dollars to get them installed professionally to have a clean conscience.
Final Thoughts: Know Before You Lift
The strength and thickness of the concrete are the basis of the safety, reliability, and long life span of your car lift installation. Do not fail to examine the specs of your slab before you invest in a lift. Taking the time to check the readiness of your floor will save your investment, as well as your own safety.
In case your garage is not ready, you can reinforce particular parts of posts, improve your slab, or choose a lift that will suit your circumstances. In any case, preparation will help your car lift continue to give you years of service for weekend work at home or heavy production at heavy shop floor speed.
Are you willing to take your garage to the next level? At Heavy Duty Garage, we go out of our way to make sure that you buy the right car lift to meet your needs and make sure that your floor is capable of taking the weight of the car lift safely.
Check out some of our lifts collection here.
Contact us now, and we will turn your working environment into a confident world.

